The Biscuit Split
A small batch of buttermilk biscuits and a few practical tests for keeping the layers tender from bowl to breakfast table.
8 min read
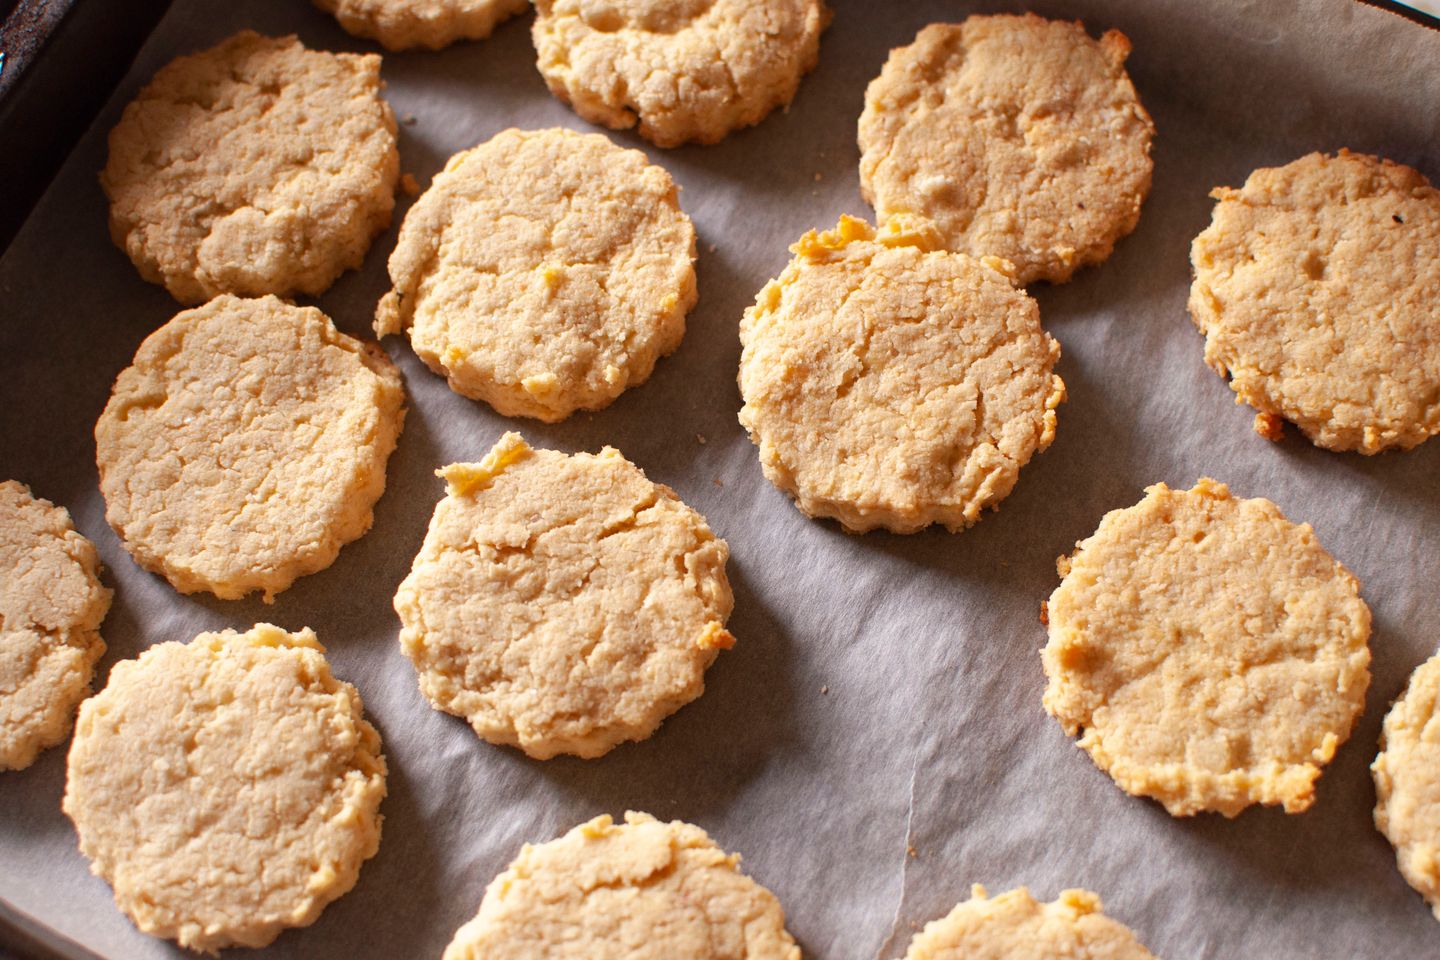
The side of a good buttermilk biscuit looks like a stack of narrow ledges. Put your thumbs in the widest gap and the top comes away without much persuasion. The center is soft enough to take a little butter, while the outer edges have the faint crunch you hear before you taste it. When a biscuit comes out more like a roll, the first place to look is the state of the dough before it was cut. A very smooth, warm sheet gives the oven fewer seams to open.
A batch of eight is small enough to mix and pat by hand. Use square cuts if you would rather avoid scraps. Round biscuits are worth trying when you want to see what happens to dough handled a second time. Both come from the same broad, crumbly rectangle. While the oven heats, put a little flour on the board and clear a place for the tray. When the buttermilk meets the flour, you will already have everything within reach.
Gather the dry and cold ingredients
For eight square biscuits, weigh 300 grams all-purpose flour, 12 grams baking powder, 2 grams baking soda, 5 grams fine salt, and 8 grams sugar. Use 95 grams cold unsalted butter and about 220 grams cold cultured buttermilk. Have a little more buttermilk available if the flour is especially thirsty, and a small spoonful for brushing the tops. Set a rack in the middle of the oven and heat it to 220°C or 425°F. Line a rimmed baking sheet with oven-safe parchment.
Whisk the dry ingredients together before the butter goes in. Give the edge and bottom of the bowl a pass so any baking soda clinging to one spot gets moved into the flour. A clump can leave an unpleasant patch in an otherwise pleasant biscuit. Cut the butter into thin slices, toss with the flour, then break up the slices until most pieces are roughly the size of a pea or flattened into short flakes. When the butter is cold, the flattest pieces will look like small pale coins under a dusting of flour.
There is room for variation in the crumbs. A few almost invisible pieces of butter will mix into the softer layers. A few larger flakes will help leave spaces as the dough heats. If every piece is large, the dough can lose too much fat in the same spot and the biscuit may separate into a lid and base. If everything feels like fine sand and the bowl looks a little shiny, the butter may have warmed while you worked. A short visit to the refrigerator will make the mixture easier to handle.
Add enough buttermilk to make a rough sheet
Pour about 200 grams of buttermilk around the bowl. Draw flour into it with a fork or a flexible spatula, lifting from the bottom. The mixture will gather in ragged sections. Drizzle in the rest where you can still see large amounts of dry flour. If the mass holds when you squeeze it and there are a few crumbs at the edges, it can go onto the board. If a large part of the bowl remains dusty, use a teaspoon at a time from your reserve. The weather and the particular bag of flour can affect how much you need.
A good biscuit dough will leave a few marks on your fingers. You can shake most of it off, then dust your hands lightly before moving to the board. A bowl full of sticky paste is harder to turn into layers. Next time, hold back more liquid until the flour has had a moment to absorb what is already in the bowl. For the batch in front of you, use a scraper to lift the dough and a light coating of flour to keep it from sticking to the board.
Tip the dough out and press it together. Use the heel of your palm to nudge the thick spots flat. A few dry scraps may be sitting loose near the edge. Press them onto the sheet with the help of the scraper. The remaining roughness will be useful as the first fold brings the wetter inside of the dough against some of the drier crumbs.
Make two folds and see what changes
Pat the dough into a rectangle around the length of your forearm and the width of your hand. Use the scraper to lift one short end and fold it toward the center, then bring the other short end over it as you would fold a letter. Rotate the package a quarter turn. Pat it out and repeat the fold once. If the surface begins to resist or spring back, pause for a minute. Pressure from the whole palm spreads more evenly than pressing the same small spot with two fingers.
After the second fold, pat the dough into a compact rectangle roughly 2.5 centimeters or 1 inch thick. This last thickness is more useful to measure than the length of the earlier rectangles. A very thin biscuit has little interior left by the time both surfaces have browned. A thicker one can be wonderfully soft, but it needs longer in the oven and makes it harder to tell whether the very middle has set. Use the side of your hand to straighten the edges before cutting.
If the sheet becomes glossy and loses definition where it folds, move it to a flat tray and refrigerate it for ten minutes. Cold dough should lift cleanly with the scraper. It will also give you time to shake loose flour off the board and find a knife sharp enough to cut the folds without dragging the top layer down with it.
Choose the edges you want
For square biscuits, trim a very narrow strip from each folded edge and set it aside. Cut the sheet into eight pieces by dividing it once lengthwise and three times across. Press the knife straight down and lift it before moving to the next cut. This leaves a visible cross section of the folds. The trimmings are useful baked in a little cluster at the edge of the pan. They will cook sooner than the main pieces and can give you an early taste of the browned edges.
For rounds, use a cutter roughly 6 centimeters or 2.5 inches across. Dust the rim, lower it once, and lift without twisting. Cut the rounds as close to one another as you can. Layer the leftover pieces loosely and press them to the same thickness to cut another biscuit. The pieces from the second cutting often have a less predictable shape. Set those at the front of the tray so you can check them separately. A shorter biscuit may be done before its taller neighbors.
Space the cut biscuits a couple of fingers apart for crisp sides. Set them just touching if you prefer the neighboring faces to stay soft. Brush a little buttermilk over the tops, steering clear of the layered edges. Slide the pan into the oven once it has reached temperature. If the kitchen is hot, park the cut dough in the refrigerator while you wait.
Take one off the tray before splitting
Begin checking after about fourteen minutes. The tops should be golden at the high points and the cut sides should look set, with a few open seams and a matte finish. Give pale biscuits another couple of minutes. Lift an outside biscuit with a thin spatula to see the bottom. A browned base gives the warm biscuit enough structure to move without breaking, while a pale underside may need extra time, especially if the tray has a thick insulated base.
Move the biscuits to a rack and give them a few minutes to settle. A fresh one will still feel light in the hand. Follow the natural division in the side with your thumbs. If it opens with a streak of damp, doughy flour in the middle, give the remainder more oven time. If it feels tight and bready all the way through, look back at the work on the board. Flour may have been pushed into the folds, or the rectangle may have taken too many passes to flatten.
Serve the biscuits as soon as the center will hold butter without swallowing it. At breakfast a thick spoonful of jam can go on the rough surface of the bottom half, with the top leaned against it to keep the crust intact. The most irregular biscuits are useful alongside soup, where they can be pulled into pieces and dipped. Cool any plain biscuits you will keep and wrap them once the steam has gone. Rewarm them in a moderate oven so the crust has time to crisp while the center heats.
If you want to change the batch on the next round, alter one thing and see how it affects the side. A square cut can produce a taller ledge than a crowded second pressing of round scraps. A couple of teaspoons more buttermilk can leave a softer interior when the original dough was dry. Put the two biscuits next to each other and split them while they are still warm. How easily those seams come apart is a useful answer to take into the next bake.