Shortbread at the Edges
Start with a plain butter shortbread and see what changes when you bake the same dough as thin fingers or thick wedges.
8 min read
At the edge of a pan of shortbread, a few millimeters of dough can carry most of its color. Break off that corner and you get a faint toastiness and a sharper snap. The middle has a finer, sandy texture and tastes more plainly of butter. A person who likes one piece will often reach for a completely different position than a person who likes the other. That is useful information when deciding what to bake. There is no need to make another dough to see how far a different shape can take it.
Two small metal pans make a good comparison. Press one part of the dough thin enough to cut into fingers and leave the rest thick enough to serve in wedges. Both can bake at the same temperature, although they will come out at different times. If you want to use one pan, begin with the shape you already know you like. A note on the thickness and the color at which you took it out will help more on a second bake than a strict rule about the time.
Set up a plain dough
For a full batch, weigh 170 grams unsalted butter, 85 grams superfine or ordinary granulated sugar, 225 grams all-purpose flour, 25 grams fine rice flour, and 2 grams fine salt. If you have no rice flour, use the same weight of all-purpose flour. The biscuit will feel a little less sandy and still hold together. Use two small pans around 15 centimeters or 6 inches across, or one 20 centimeter or 8 inch square pan for an even sheet. Line the pans with parchment, leaving a little overhang to help lift the cooled shortbread.
Take the butter out early enough to soften. When you press it with a finger, there should be a distinct dent and a little resistance underneath. Butter that has softened until it feels wet or shiny can make it hard to press the dough cleanly into corners. If it has become very soft, put it in the refrigerator for a few minutes and check again. Cut it into several pieces so it softens evenly and does not leave a cold center hiding under the surface.
Use a wooden spoon or flexible spatula to press the butter and sugar together until they look evenly combined. Add the salt. You can do the same thing with a mixer on low speed if you stop when the mixture is smooth. Excess air can make the surface slightly uneven as the dough rises and settles. The sugar may feel a bit gritty against the spoon even when the butter is ready. That is normal, especially with ordinary granulated sugar.
Bring the crumbs together with your palms
Mix the two flours, add them to the bowl, and use a spatula to fold them into the butter. At first the mixture will look like damp rubble. Scrape the bottom once and break up any hidden streak of butter. Pick up a piece and squeeze. When the small pieces hold together under pressure, tip the mixture onto a board or into the pans. If a patch will not bind, let it sit for a few minutes to let a hard piece of butter soften before pressing again. Adding water would change how the dough behaves in the oven.
For two shapes, put roughly a third of the dough in a small square pan and the rest in a small round pan. Use your fingers to distribute crumbs before pressing any area hard. Aim for about a centimeter of thickness in the thinner pan and closer to two centimeters in the thicker one. If your pans are slightly different, adjust the division of dough to get approximately those depths. A flat-bottomed glass can even the surfaces, especially along the border. Press lightly and cover the bottom in several passes. An unfilled pocket near a corner will leave a weak spot that is difficult to patch once baked.
Score the thin pan into fingers with the blunt side of a knife, just deep enough to show the future cuts. Mark the round into wedges in the same way. A fork can prick shallow holes between the lines. The holes give you a repeatable pattern and make it easy to see if part of the dough has puffed more than the rest. Chill the pans for about twenty minutes while you heat the oven to 160°C or 325°F. The chilled surface should look matte and hold its score marks when you tilt the pan.
Watch the line where the dough meets the pan
Bake on a rack near the middle. Give the two pans some space so air can move around them. Begin checking the thin fingers after twenty minutes and the thick wedges after thirty. The time may run longer, particularly in pale pans. Look for a matte center and a light golden border. The thick round may have a pale top when its edges are ready. A raw patch looks shiny and soft in the center. If the outer edge is already brown and the middle is shiny, turn down the oven slightly and give it more time.
The smell changes before the top becomes very dark. Early on it is fairly sweet. Near the end you may notice a little warm flour and toast. If you prefer a pale shortbread, take it out when the border is just turning cream-colored and the center is set. For a more pronounced toasted edge, give it a few more minutes and check the underside when you lift the baked sheet out. The difference between gold and too dark can be only a few minutes for a very shallow layer.
Wait two or three minutes before using a thin knife to follow the scored lines. For the thicker wedges, cut nearly all the way through while warm and leave the pieces in the pan to firm. Finish any cuts that meet resistance only after the shortbread cools. The line will give the knife a path to follow. A hot, unsupported wedge can break across the middle even if the scoring was clear. Use the parchment to lift the whole round once it has set, then separate the pieces on a board.
Compare the first bite and the last
Take a thin finger and break it close to one end. You will hear a crisp crack and see a compact interior. A thick wedge may break with almost no sound and leave a few fine crumbs behind. It will have spent longer in the oven, yet its center can feel more tender because a smaller share of that piece sat against metal. If you are testing with friends, serve one piece of each without explaining which was meant to be crisp. Ask which one they would take with tea. The answer is likely to include what they like about the edge, even if nobody calls it an edge.
If the thin fingers bend, their bottoms may need more color, or the batch may still be warm. Let one cool completely before making that decision. If the thick wedges seem greasy, check how soft the butter was and whether the center really set. A paper towel under the cooled pieces may show a few traces of butter, which is normal. A very dark, brittle border around a damp middle suggests the oven ran hot for the thickness of the pan. Lower the temperature a little for the next round and look for a more gradual change across the surface.
The position of the oven rack can matter if the bottom and top are out of step. A pan on the upper rack may develop color on top early, while a dark metal pan on a low rack can toast the underside quickly. Change just one of those conditions on the next bake. Use the same pan and a similar thickness so you can tell whether the adjustment helped. A short note on the type of pan is worthwhile if it spends the rest of the year in a cupboard beside two others that look almost the same.
Save the flavor changes for a second batch
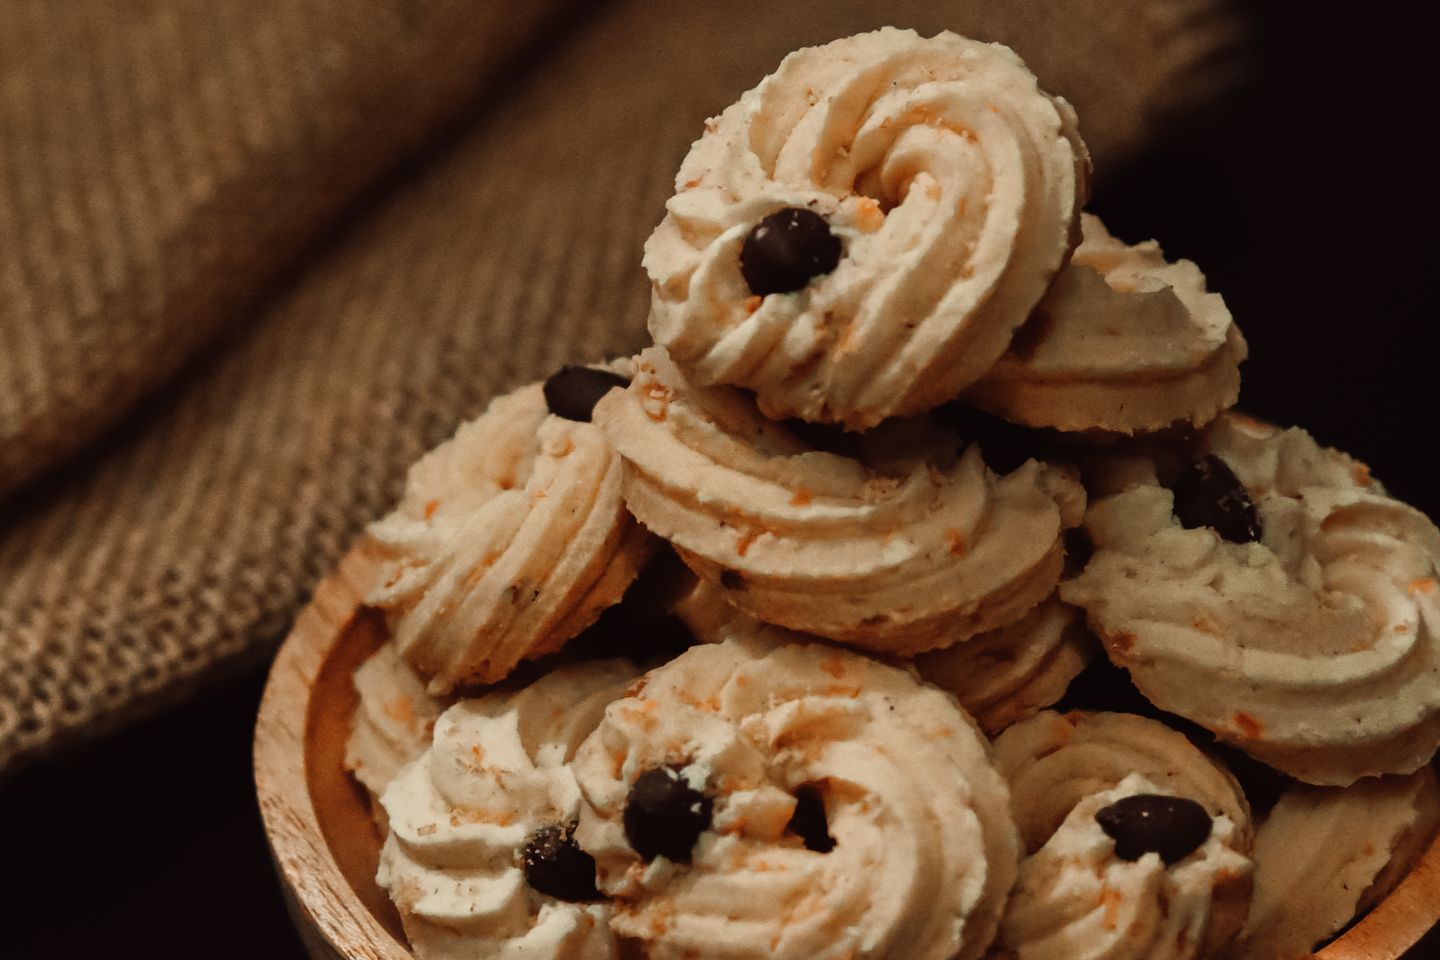
Once the plain version is familiar, rub a little grated orange zest into the sugar before you press it into the butter. Use only the fragrant outer skin and start with about a teaspoon. It will perfume even the pale centers. Finely ground tea leaves or a little vanilla work as well, but give a different result at the edge. If you add chopped nuts, keep the pieces small so the knife can follow the scored lines without catching. A large piece on the line tends to pull a whole wedge with it.
Shortbread should cool fully before it goes into a tin. Store the plain pieces in a clean, airtight container and keep them away from biscuits with wet fillings. If you want to check how each shape keeps, hold back one thin finger and one wedge and taste them the next day. The crumb will be firm and the butter will come through clearly. In the time it takes to make a cup of tea, you will know whether the next tray needs more of the broad center pieces or whether you would happily bake the whole batch as corners.