Crackers with Thin Edges
A seeded dough rolled on parchment, with a practical way to bake its delicate edges and stubborn middle on the same tray.
8 min read
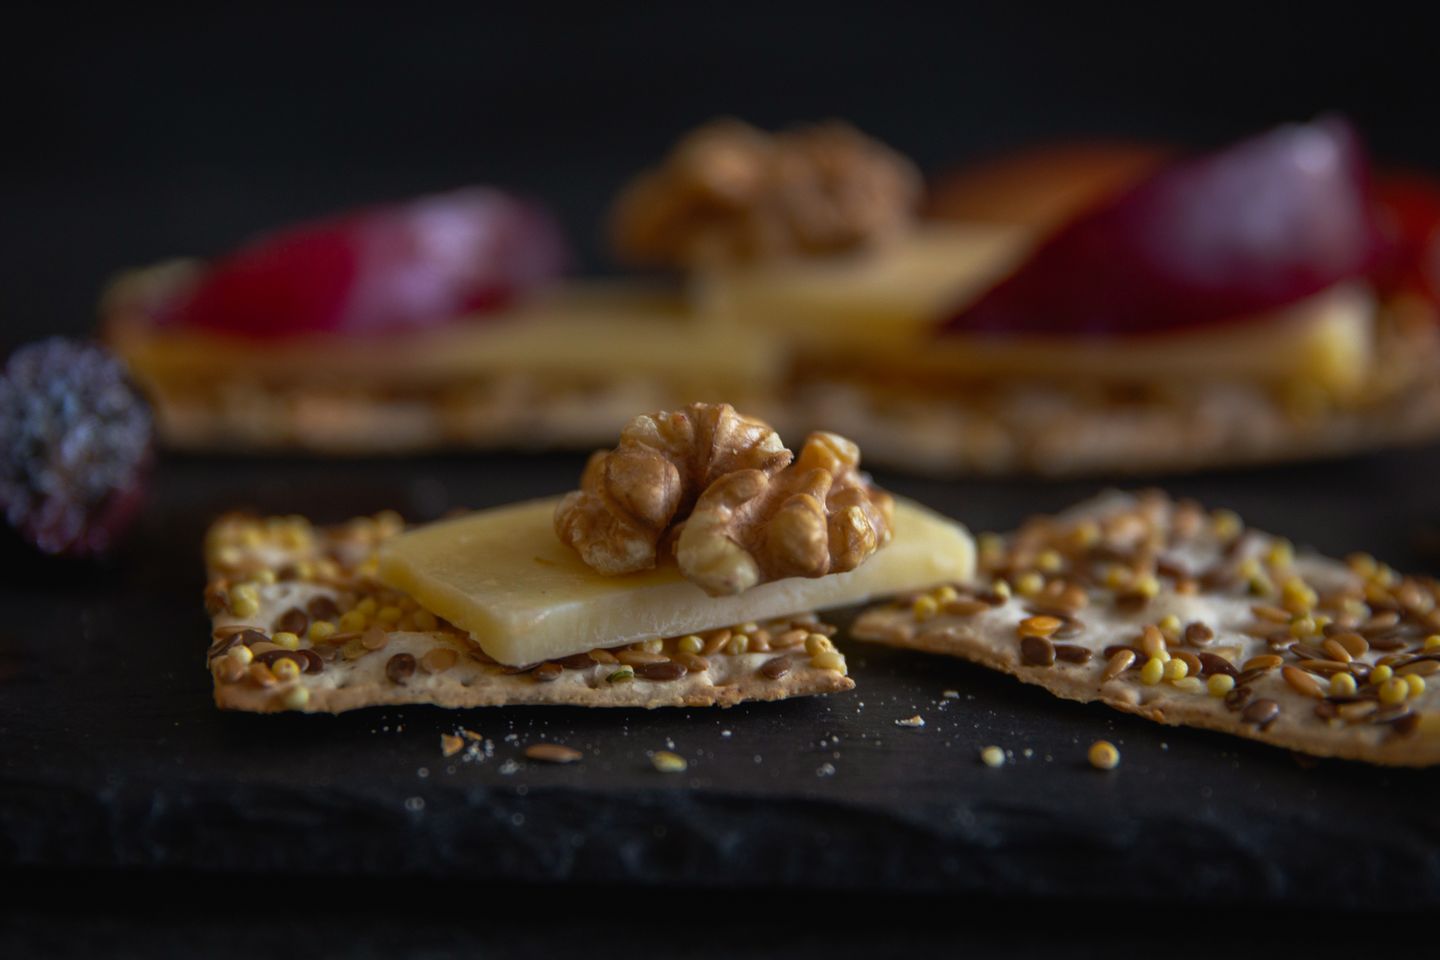
The first cracker off a sheet usually comes from a corner. That piece has two exposed edges and a thin spot where the rolling pin ran off the dough. It snaps cleanly while a piece from the middle may still bend. If the corner is the only part of a homemade cracker sheet you really like, there are two decisions to make next time. One is how thin to roll the center. The other is when to take the finished pieces off the tray and give the rest a little more time.
Rolling the dough directly onto parchment makes those decisions easier. You can lift the sheet without stretching it, and the lines cut before baking will show which pieces are easy to remove first. You can keep a few uneven borders, too. A cracker with a little extra edge is worth having when you plan to set out something soft, like a white bean spread or a piece of cheese that has had time to warm.
Make enough dough for two trays
Set out 150 grams all-purpose flour, 60 grams whole wheat flour, 4 grams fine sea salt, 15 grams sesame seeds, 15 grams sunflower seeds, and 28 grams olive oil. Have 95 grams water ready, plus a tablespoon in case the dough needs it. This quantity makes two thin sheets on standard home baking trays. A clean metal ruler or the blunt back of a straight knife helps if you want squares. There is no need to weigh each piece once the dough is divided.
Combine the flours, salt, and seeds first. Chop the sunflower seeds roughly if they are quite large. Big pieces can catch under the rolling pin and pull a hole through a very thin area. A few whole seeds are fine. Tip in the oil and most of the water. Stir with a fork until the flour looks evenly damp. Squeeze a small amount in your hand. It should hold together through one firm press without leaving much of itself on your skin.
Gather the dough into one piece and knead it just enough to bring in any dry patches. If flour still falls away after a minute of mixing, sprinkle in more water a teaspoon at a time. A dough that feels sticky after the first stir can become firmer once the flour has had a little time to absorb water. Cover the bowl and let the dough sit for twenty to thirty minutes. The pause also lets the whole wheat flour soften. It is easier to notice the difference under a pin than while the dough is still in your hand.
Roll without asking the corners to stretch
Divide the dough in half. Put one half on a piece of parchment trimmed to fit your tray, with a second piece over it. Press the dough into a low rectangle with the heel of your hand. Roll from the center toward an edge, then turn the parchment and repeat. The paper may slip on a polished worktop. Put a clean silicone mat underneath it or hold one corner of the paper while you make the first few passes. Once the sheet gets wider, its weight will usually hold it in place.
Pull back the top paper occasionally to check where the dough is thick. Light reflects off the sheet differently as it flattens, and you can run the side of a finger along it to feel a high spot. Aim for about one and a half to two millimeters in the center. A thinner rim will brown first. If it is much thinner than the middle, press a stray scrap onto the flimsiest patch or cut away a narrow strip. Roll lightly over any joins before you score the tray.
If the dough pulls back after every pass, pause for five minutes with the paper still covering it. A little rest makes it easier to extend the short sides without rubbing the center thin. If the top paper sticks, peel it back low against itself rather than lifting it straight up. Use a dusting of flour only where you need it. Dry flour trapped between the dough and the seed layer can make those seeds easy to brush away after baking.
Put the lines and holes where they will help
Slide the rolled sheet, still on the lower parchment, onto a baking tray. Use a pizza wheel or a thin knife to score it into squares, long strips, or a combination of the two. Cut most of the way through without slicing the paper. Small squares break out of the finished sheet easily. A long cracker is pleasant for dipping, but will show any variation in thickness from end to end. Keep long pieces in a row near the outside if you want the most even bake.
Prick a few holes in each piece with a fork. The holes give steam an exit and reduce the chance of a single big blister. Leave an occasional small blister if you enjoy it. A tray with some roughness across the top is easier to grip than an entirely flat surface. Brush on the lightest film of water if you want to add a few grains of flaky salt. Keep extra seeds sparse. The ones inside the dough will stay put better than a thick covering on top.
Heat the oven to 190°C or 375°F. Set one rack near the middle. Put the second rolled sheet aside while the first bakes if you want to get a clear read on the oven. Two trays can shade one another, and a crowded oven makes it harder to compare the tops. Once you know how the first sheet behaves, you can choose whether baking both together is worth rotating and swapping them.
Make the first check at the border
Begin looking after about twelve minutes. The sheet should have lost the raw shine it had when it went in. Look for small brown spots where a seed touches the surface and a slightly darker line at the outer edge. If one side browns ahead of the other, turn the tray around. A thin border may lift easily with a spatula while the center still feels soft. Separate a border piece along the cut line and give it a minute on a rack. If it snaps cleanly after cooling, pull out the rest of the finished border.
Return the center to the oven for a few minutes. You can separate those pieces as soon as the lines break cleanly and space them apart a little. That gives more of their edges a chance to dry. Check the bottom of one piece. A baked cracker should be dry on both sides. Very dark seeds on top can taste bitter before the rest of the surface looks overdone, so pull the pieces as they are ready. Depending on the oven and thickness, the full sheet can need closer to twenty minutes.
Let the crackers cool on a rack in one layer. If they stay on a hot sheet, the thin ones may carry on browning while you get the second tray ready. Break one from the middle once cool. If it still bends, return it to the oven for several minutes at a lower heat, around 150°C or 300°F. A moderate drying step is helpful if the crackers already have the color you want. Let them cool again before judging the snap.
Set out the shapes that suit the food
If you want a cracker for a soft spread that is going to sit out briefly, leave a few pieces thicker than the rest and cut them no wider than two bites. Mark the row with a pair of fork holes in one corner so you can find it after baking. A little extra thickness gives you time to move a topped cracker from tray to plate without its middle breaking.
Cut some of the second sheet differently once you know what happened to the first. A shallow, square cracker works with a thick spread because it can pick up a modest amount without twisting. A very thin strip makes sense beside a soft cheese, where a narrow end can carry one bite. If the first sheet was difficult to break in straight lines, score the second a little deeper. A few uneven pieces can go into a bowl for people to pick at while the other food is being arranged.
Save a middle piece and an edge piece to taste without toppings. A cracker that needs more salt may taste especially flat in the center where it has less toasted flavor. Add a little salt to the dough or scatter a few grains on the next tray. A cracker that is too dark around the seeds can benefit from a lower rack or shorter baking time. It is easier to know which adjustment to make when you have tasted the plain dough after it cools.
Keep fully cooled crackers in a dry, airtight tin. If the kitchen is humid and the crackers soften, spread them on a tray and put them into a moderate oven just until they feel dry again. Serve them once cool enough to snap. A short strip at the edge can go beside soup, while the broad pieces hold the spread. By the time the last of the batch comes out of the tin, you will have a fairly clear idea of whether the next sheet should be rolled thinner or simply cut into more pieces with their own edges.